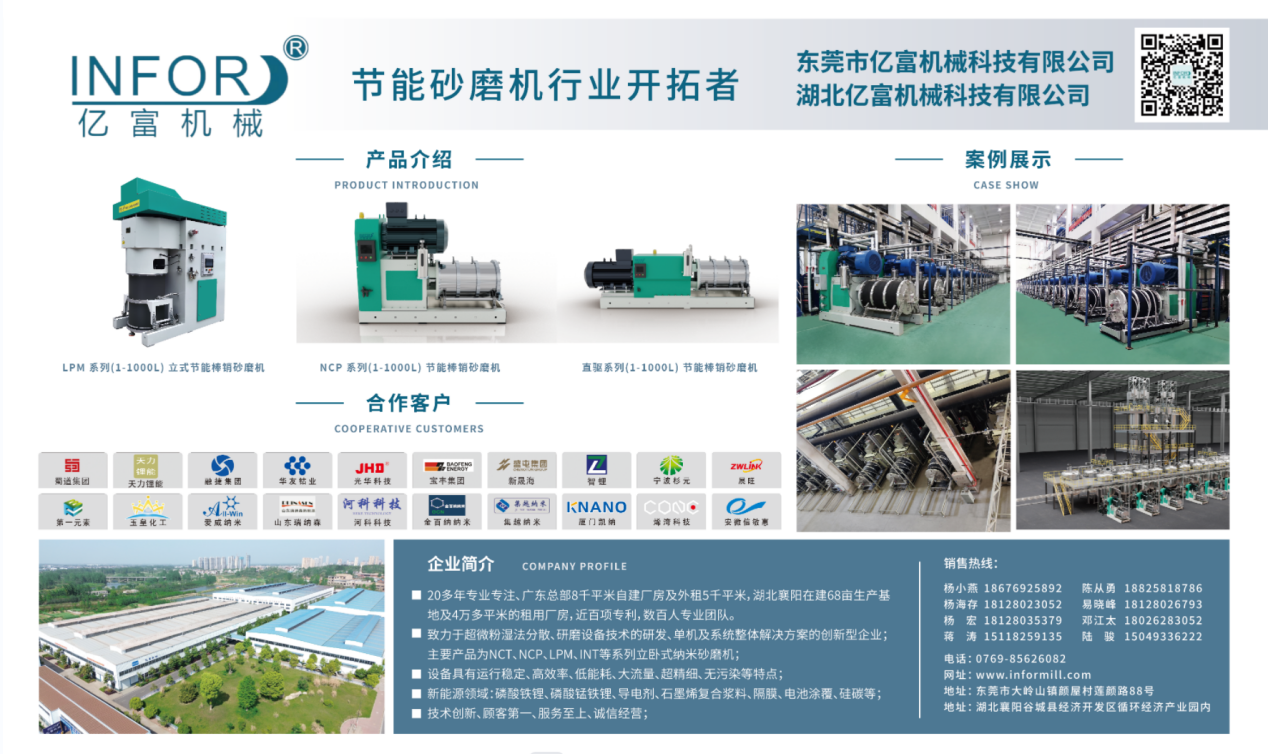
A production bead mill (sand mill) runs a high-speed shaft inside a chamber filled with grinding beads. Much of the wear, leakage and safety risk on these machines comes down to how they are started and stopped. The sequence below is a general procedure for wet-grinding production mills; always follow the operating manual and process sheet for your specific model and material, which take priority over any general guide.
Only trained operators should run the mill. Wear protective clothing, safety glasses, gloves, hearing protection and a mask suited to the material, and locate the emergency stop before starting.
Step 1: Check the machine before start-up
- Look for loose fasteners, damaged guards and any leakage around the mechanical seal, chamber and piping.
- Confirm cooling water is connected and flowing to the grinding chamber jacket, and that the seal coolant or seal fluid circuit is filled to the correct level.
- Check lubrication points and oil levels as listed in the manual.
- Check the electrical cabinet, control system and sensors, and clear any active alarms on the HMI.
- Make sure the work area is clear of debris and well ventilated, and that the emergency stop is visible and within reach.
Step 2: Prepare the material and grinding media
Check that the slurry formulation, solids content and pre-dispersion meet the process sheet, and that the grinding beads are the specified material, size and fill level. Make sure the feed line, inlet and outlet are open, with no dried deposits left from the previous batch that could block the flow.
Step 3: Set the process parameters
Enter rotor speed, feed flow, temperature limits and pressure limits according to the process requirements. Before starting, check that the values shown on the control screen match the values you set.
Step 4: Start the systems in sequence
- Start the cooling water to the chamber and the seal cooling circuit first, so the seal and chamber are cooled before heat is generated.
- Start the lubrication system on models that have one.
- Fill the chamber with slurry as the manual specifies for your model. The grinding beads, lining and seal should never run dry.
- Start the main motor and raise it gradually to the set speed rather than starting at full load.
Step 5: Monitor the mill while it runs
- Watch vibration, noise, motor current, chamber pressure and product temperature. Stop the mill and investigate any sudden or abnormal change.
- Keep the product temperature within the limit set for your material by adjusting cooling or feed flow.
- Take samples from the sampling port at regular intervals and adjust speed or flow to reach the target particle size.
- Do not bypass alarms or interlocks. INFOR production mills such as the NCT and NCP series monitor material temperature, pressure, cooling water and seal level, and stop with an audible and visual alarm when a sensor detects an anomaly.
Step 6: Shut down gradually
When the batch is finished or the mill needs maintenance, reduce the rotor speed step by step to the minimum instead of stopping abruptly, and empty the product from the chamber following your process's cleaning procedure before stopping the feed.
Step 7: Clean the mill
Remove the remaining material from the chamber, inlet, outlet and filters before it dries or cakes. This matters most for materials that harden or are corrosive. Check that the separator and outlet are clear, so the next start is not blocked. The bead mill maintenance checklist covers what to inspect during cleaning.
Step 8: Switch off and lock out
After the main motor has stopped, switch off the lubrication system and then the cooling systems. Isolate the power supply and lock the control cabinet before anyone works on the machine.
Good practice for every operator
- Carry out planned maintenance as the equipment manual requires and replace worn parts promptly.
- Train every operator on the specific model and process, not just on bead mills in general.
- Keep a written emergency plan for leaks, overheating and power failure, and practise it.
If the mill does not behave as expected, the bead mill troubleshooting guide lists common symptoms and what to check. For model-specific operating parameters, contact INFOR; our engineers can also run a free test on your material.