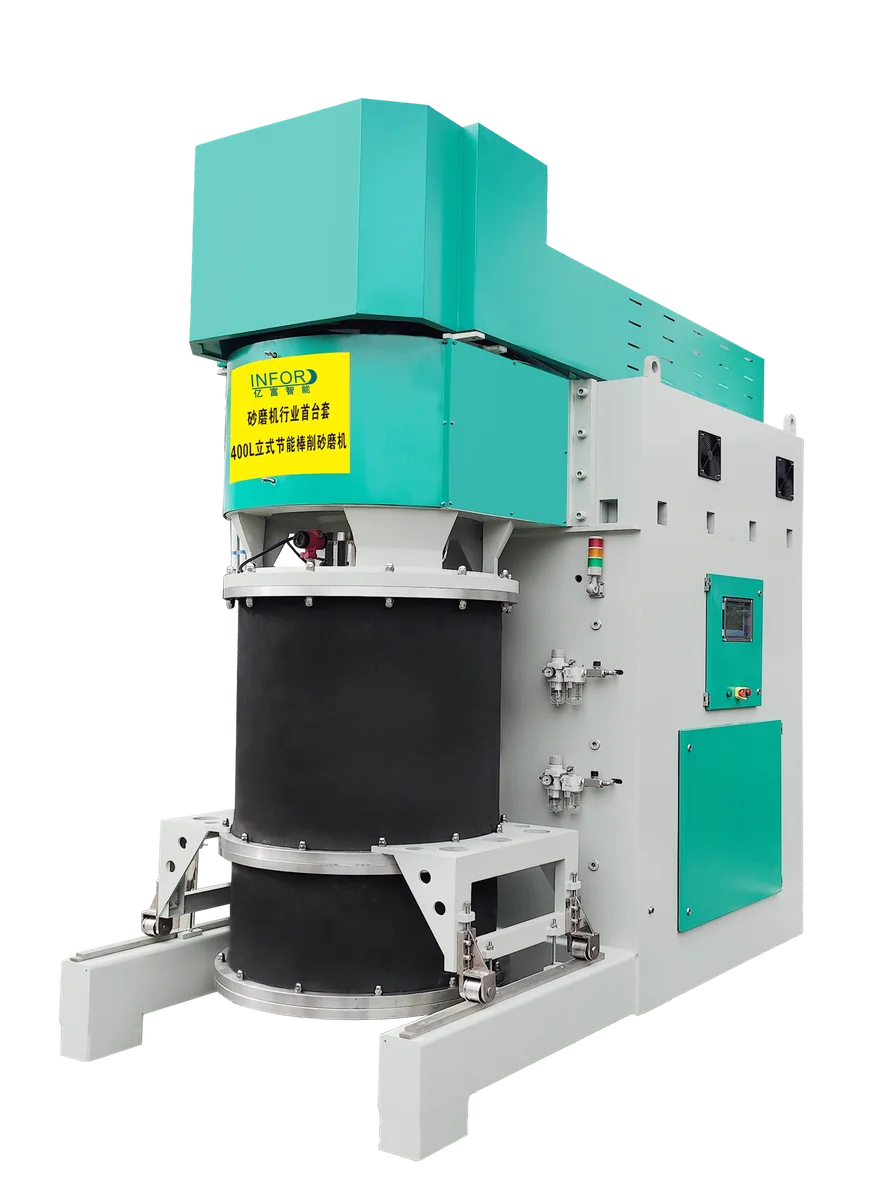
Most unplanned stops on a bead mill (sand mill) trace back to a few components: the mechanical seal, the grinding media, the separator, the cooling system and the wear parts of the rotor and chamber. How often each needs attention depends on how abrasive and corrosive the material is, the solvent system and the running hours, so use the equipment manual as the baseline and adjust from your own records. The checks below are the ones to build into every maintenance plan.
| What to check | Every shift | Each batch or product change | Planned maintenance |
|---|---|---|---|
| Mechanical seal | Seal fluid level, coolant flow, no leakage | Clean around the seal | Inspect and replace seal faces and elastomers |
| Cooling | Water flow and temperatures | As needed | Descale the chamber jacket and seal circuit |
| Grinding media | Product temperature and particle size trend | Top up to the specified fill | Check bead size and breakage; sieve or replace |
| Separator / outlet | Chamber pressure | Inspect and clean | Check for wear and damage |
| Rotor and chamber lining | As needed | Visual check during cleaning | Measure wear and plan spare parts |
| Drive and electrics | Vibration, noise, motor current | As needed | Bearings, belts, lubrication, alarm test |
Step 1: Check the mechanical seal
The mechanical seal keeps product in the chamber while the shaft turns at high speed. Every shift, confirm the seal fluid or barrier fluid is at the correct level, the seal coolant is flowing and there is no leakage at the shaft. Grinding media and slurry rub against the seal components, and many slurries are corrosive, so seal faces and elastomers wear over time. Hard face materials such as silicon carbide and cemented carbide resist wear, and fluororubber or PTFE suit corrosive media; our article on selecting mechanical seals for sand mills explains the choice. The INFOR NCT series uses a self-developed double mechanical seal with its own seal coolant circulation.
Step 2: Check the cooling system
Grinding turns most of the motor energy into heat. Check the cooling water flow to the chamber jacket and the seal circuit, and watch the difference between inlet and outlet water temperature. A rising product temperature at the same settings often means reduced flow or scale in the jacket, which should be cleaned at planned maintenance. INFOR NCT and NCP mills use double-layer cooling water circulation for the grinding barrel plus a separate seal coolant circuit.
Step 3: Check the grinding media
Beads wear and break in use. A falling bead fill or a growing share of broken beads lowers grinding efficiency, widens the particle size distribution, and fragments can block a screen. Top up with the same bead type and size to the specified fill, and sieve or replace the charge when wear or breakage becomes significant. Screen-free designs reduce this work: the LPM vertical mill is designed for up to 90% media utilisation without periodic bead sieving or replacement.
Step 4: Inspect the separator and outlet
On mills with a screen, check the screen for clogging and wear, because a blocked screen raises chamber pressure and a worn one lets beads into the product. Centrifugal screen-free separation, used on the LPM and dual-power series, cannot clog in the same way, but the outlet area should still be inspected and cleaned during maintenance.
Step 5: Inspect the rotor and chamber lining
Discs, pins or turbine rotors and the chamber lining wear gradually. Wear changes the energy delivered to the beads and can add contamination to the product, so record what you measure at each inspection and plan spare parts from the trend. Linings are chosen to suit the material; INFOR offers chambers in silicon carbide, zirconia, polyurethane or alumina depending on the series.
Step 6: Clean after each batch or product change
Remove remaining material from the chamber, inlet, outlet and filters before it dries, cakes or corrodes the equipment, and flush the circuit when changing products. Design helps here: the LPM grinding barrel lifts automatically for disassembly, so one person can maintain several machines.
Step 7: Check the drive, lubrication and controls
Listen for changes in noise and watch vibration and motor current. Check bearings, belt tension on belt-driven models, and lubrication as the manual specifies. Test that sensors, alarms and the emergency stop work, because they protect both the operator and the machine.
Step 8: Keep maintenance records
Log running hours, temperatures, pressures, media top-ups and every part replaced. Over a few months these records show how fast your material wears each component, which is the reliable way to set maintenance intervals for your own process.
For start-up and shutdown, see how to start up and shut down a bead mill safely; for symptoms such as overheating or high pressure, see the troubleshooting guide. For spare parts and model-specific maintenance schedules, contact INFOR.